

Usually, we create a new project by Create React App, however, it consumes a lot of time for installing more than 140 MB of dependencies. Comparatively, Vite is a very lightweight tool because it takes up only 31 MB of dependencies. It helps in saving a lot of time when you are creating a new project.
Moreover, Vite utilizes the browser-native ES (ECMAScript) modules in order to link it with JavaScript files. It does not rebuild the complete bundle every time after each file change. Due to these key differences, Vite provides much faster experience ⚡ when updating, building, and creating a React App with Vite.
In this article, we will scaffold a brand new React App by utilizing the Vite tool. We will be creating a basic app with a new CSS, component, and image file. We will also be preparing an optimized bundle for deployment.
Prerequisites for Setting Up React Project with Vite
If you want to follow our step-by-step guide, then you are required to have the following:
- The first thing that you will need is a 12.2.0 or higher version of Node.js.
- 1.22.0 or higher version of Yarn package manager installed on your machine.
- You must be familiar with modern JavaScript, HTML, and CSS. It will also be helpful if you know modern JS used in React.
- Some basic knowledge of React would also be required.
- You must also have a mobile phone device. It must be connected to the same Wi-Fi network as your computer. This will help to preview your app on mobile.
Step#1 – Creating a Vite Project
In the first step, we have to create a new project by utilizing the Vite tool from the command line. You are required to use yarn package manager for installing and running the scripts.
In order to scaffold a new Vite project you have to run the command mentioned below in your terminal.
yarn create vite
The command mentioned above will run Vite executable from the remote npm repository. To Scaffold React local development environment this will configure all the necessary tools. And finally, this will open up a command-line menu for language type and project settings.
Once the script is finished, there will be a prompt where you have to enter a project name:
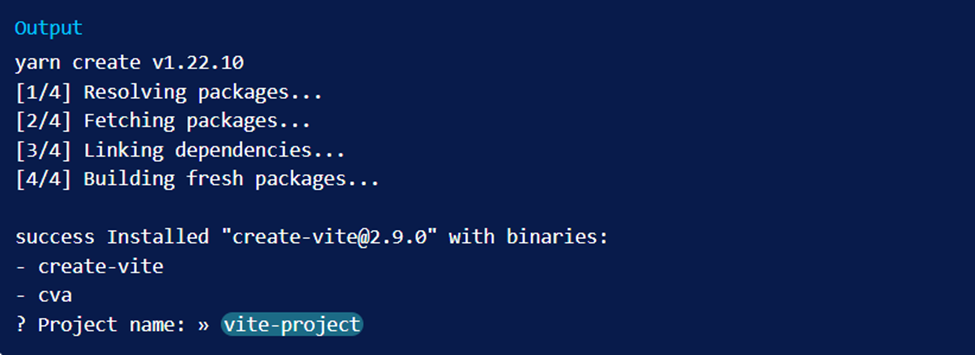
Now you are required to type in the name of your project. In this article, we will name our project digital-ocean-vite just as an example.
digital-ocean-vite
Once you have entered the project name, there will be a prompt where you have to select a framework:
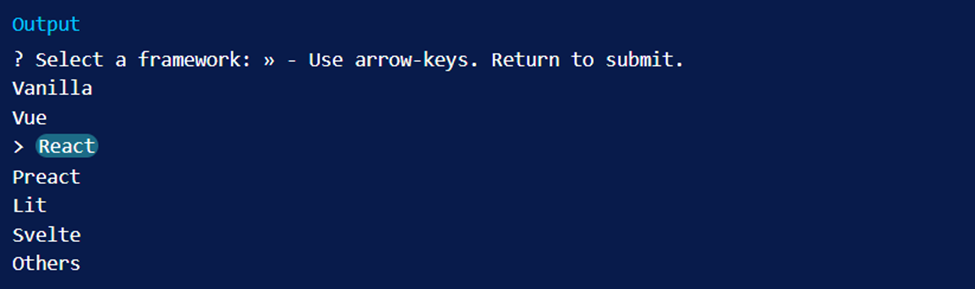
Vite allows us to bootstrap a wide range of project types instead of just React. Right now, it supports Preact, React, Lit, Vue, vanilla, and Svelte JavaScript projects.
You can use the arrow key of the keyboard for selecting React.
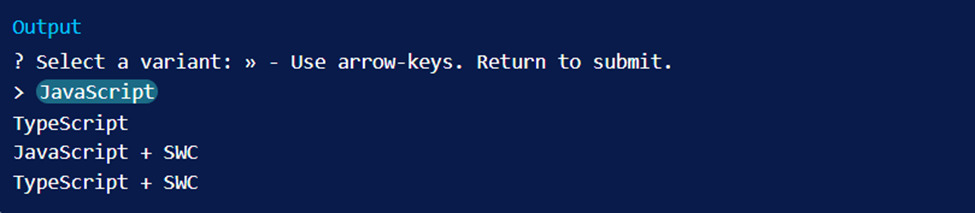
Once you have selected the React framework, there will be a prompt for you to select your language type. You can either choose JavaScript or TypeScript to work on this project.
Select JavaScript using the arrow keys:
After you are done with setting up the framework, there will be an output showing that your project has been scaffolded successfully ✔💯. Now Vite will instruct you for installing dependencies using Yarn:
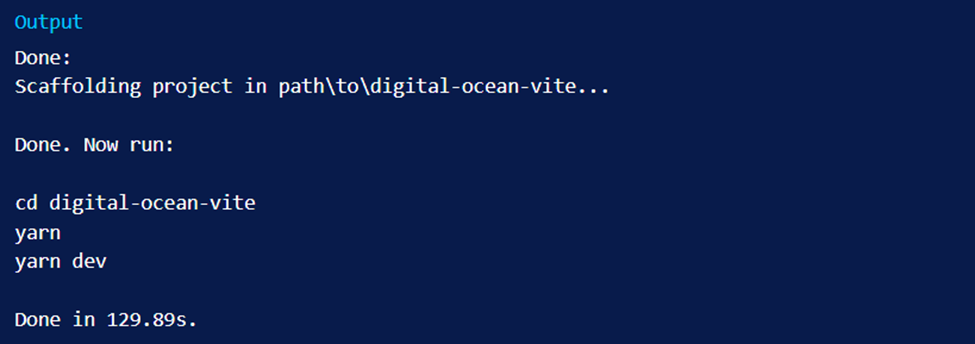
Now as directed, you have to navigate toward your project folder:
cd digital-ocean-vite
After that you have to use yarn command for installing dependencies of the project:
yarn
When you have entered the above command, dependency installation will give an output mentioning how long it tool for installing dependencies:

Now you have installed the required packages by React & Vite and set up a new React project by using Vite.
After this, we will start the development server for testing the application.
Step#2 – Start the Development Server
In second step, we will be starting the development server for verification that everything is working as planned.
From inside digital-ocean-vite folder, Use the command mentioned below for running the development server:
yarn run dev
The command mentioned above is an alias of vite command. By using this command our project will run in development mode.
You will be receiving the following output:

Now we have to open the browser & visit this address http://localhost:5173/ when you visit this address you will see that default React project is running on port 5137.

Once you see this app running, it means that you have installed React with Vite successfully 👍. In the next step, you will have to preview your application from a mobile device.
Pro-Tip: If you are a web app developer then at some point you get exhausted when you have to write code from scratch for every project. It consumes a lot of time and effort. However, we have a solution for you. There are several amazing pre-built and ready-to-use templates available that you can use to create amazing web apps.
For instance, “Modernize Nuxt Js Admin Dashboard” is one of the most popular templates for creating web apps. Using templates like these all you have to do is customize them according to your needs. You can download this template and many more from Adminmart right now.
Step#3 – Preview Your Application from Mobile Device
In step 3 we will expose the application to the local network so that we can preview it on a mobile device. It is because Vite doesn’t expose development app on your network by default.
First, we need to stop the current server if we want to run our app on a local network. Go to your terminal and use the command CTRL+C for terminating the development servicer which is currently running.
After that use the command mentioned below to run your project:
yarn run dev –host
The flag –host tells Vite to expose the application to your local network.
Now you will receive the output in the terminal as mentioned below:
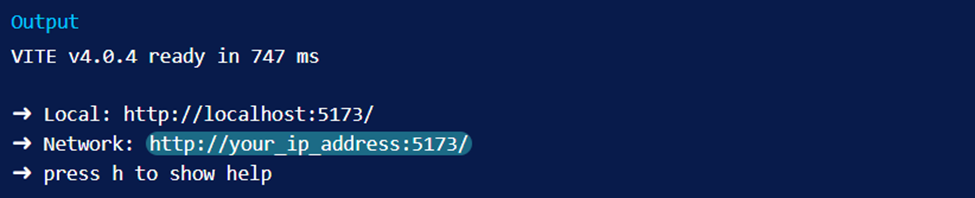
The address shown in the output is the local IP address. It is unique to only your router or computer network.
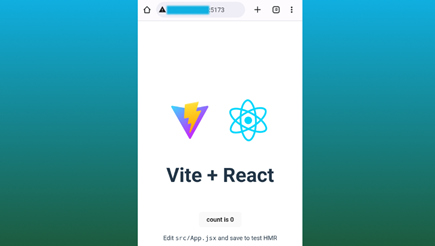
After this, you have to open your web browser on a mobile device. Then enter your IP address & port number for accessing the preview of the Vite application from a mobile device.
Now you need to run your application in the development environment & verify if it works. Once you have verified, then we will be removing the default boilerplate code which comes with Vite.
Conclusion
If you have followed each step of our guide until now then you would be able to set up a react project with Vite successfully. Since Vite is a very lightweight tool and requires only 31 MB of dependencies, it is much faster.
So, we recommend you to set up your rect projects with Vite as it will save you a lot of time. We hope this article was helpful for you in solving all your queries. 📈


 Easy to use & feature rich products.
 Trusted by 50,000 customers.
 Industry leading customer support.
 100 five star ratings.
No comments found.